-
Open the Personal Access Tokens page
Either follow the direct link github.com/settings/personal-access-tokens, or navigate there from the UI: your avatar → Settings → Developer settings → Personal access tokens.
-
Switch to Fine-grained tokens
Make sure you're on the Fine-grained tokens tab (not "Tokens (classic)"). Fine-grained tokens are the modern, scoped version — they're what you want.
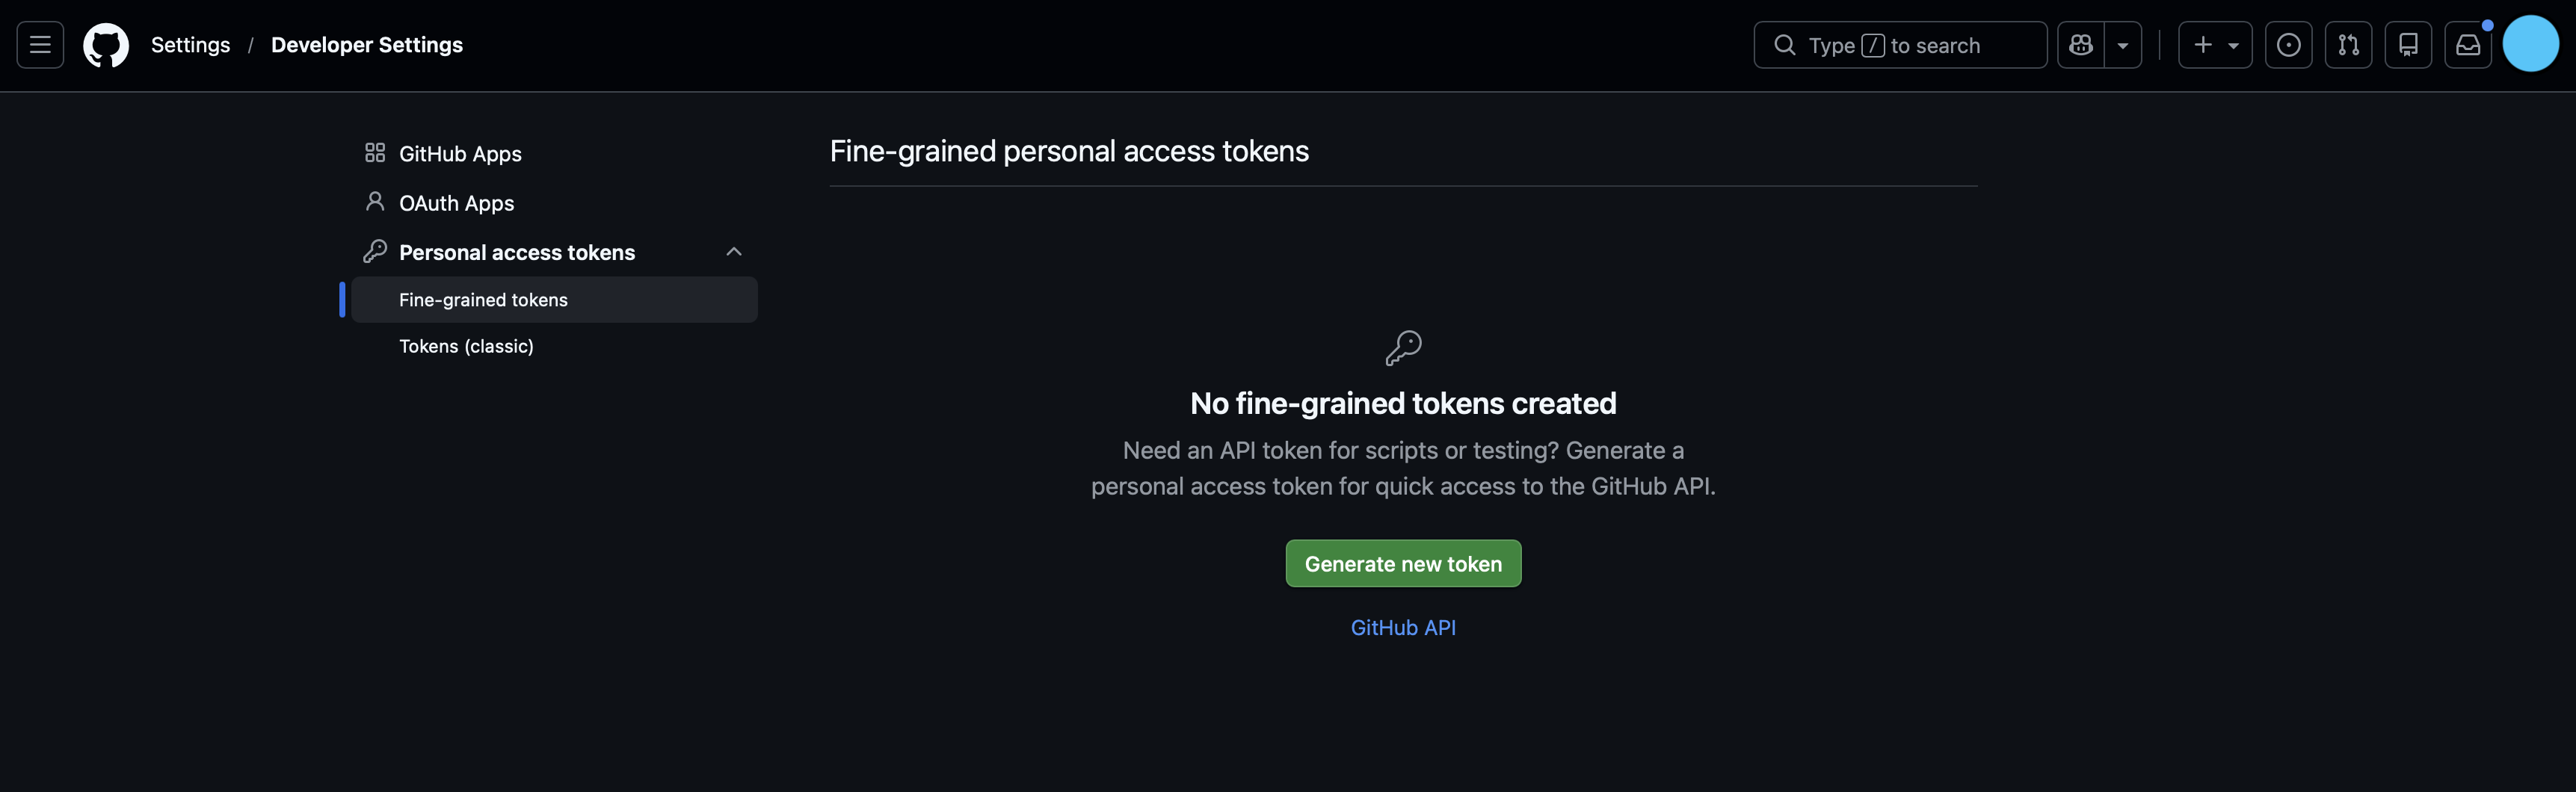
Fine-grained tokens let you pick exact repositories and permissions instead of granting account-wide access. -
Generate a new token
Click Generate new token.
-
Name it, scope it, set an expiration
Fill out the form — GitHub's UI is genuinely helpful here:
Token name — something you'll recognize later, e.g.
openmaskit · agent.
Expiration — pick the shortest window that's practical for your usage. Shorter is safer.
Repository access — either "All repositories" or "Only select repositories" if you want to limit blast radius (recommended).
Permissions — grant only what the agent actually needs. For read-only workflows, "Contents: Read" and "Metadata: Read" go a long way. Add "Issues" or "Pull requests" if the agent will write to them. -
Click Generate token
GitHub may ask you to confirm with your password or a passkey.
-
Copy the token and come back to OpenMaskit
GitHub shows the token exactly once — copy it now. Then head back to the OpenMaskit dashboard, install GitHub from the marketplace, and paste the token into the install modal.
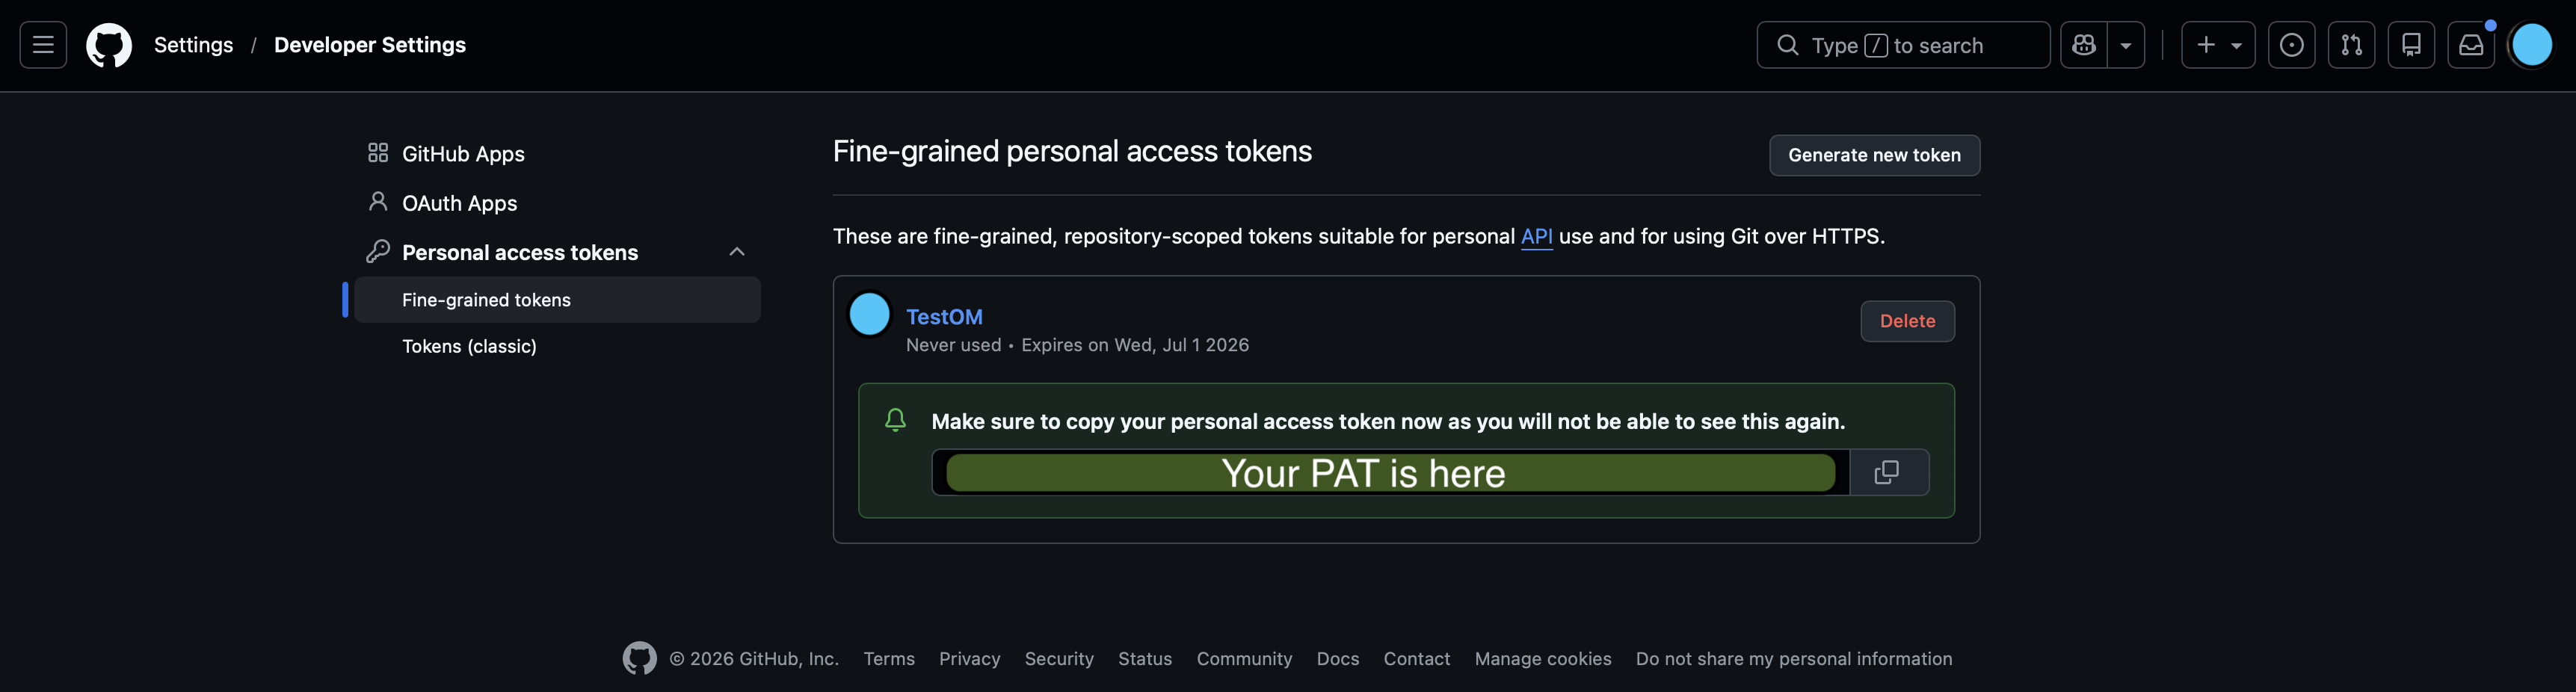
This is your only chance to see the token. If you lose it, generate a new one — the old one stays valid until it expires or you revoke it.
That's it.
Your token lives in OpenMaskit's store directory, encrypted at rest, and is sent only to the GitHub MCP server you installed it for. You can revoke it any time from GitHub's PAT page, or rotate it by generating a new one and updating the server's credentials.